Wednesday, October 9, 2013

Fall Mantel (and a tip for scaring your mailman)


If you've been with me, you'll remember I built our fireplace mantel just before Christmas last year.  And when I say "just before", I really mean it.  I was practically touching up paint and wrapping presents at the same time.


See?

Once I built the mirror to go above it not long after, it kinda just sat like that up until this past weekend.


Certainly nothing wrong with it.  I prefer the clean, stark lines for sure.  However, not that most of the BIG renovations are wrapping up, it feels really, really good to putter and decorate and tweak things.  I haven't had a chance to fuss over little details for almost a year.  I've been too busy laying flooring or trimming out rooms or tiling showers or, or, or....

I hit up a local greenhouse/farm stand and scooped up a few gourds and pulled out my awesome black crows.


No, not those Black Crowes.

I'm talking about this little guy:


How great is he, right?  I think I paid a dollar for him at a Dollarama.  Totally worth every penny for his cool, aloof presence all up in my mantel.


The candles were an awesome find in a Target clearance aisle a million years ago.  They're battery-operated with timers and have a lovely, low glow at night.  I think I paid about four bucks for each of them.  Not bad considering a single, similar candle at Pottery Barn goes for $29.50.  Come on now...


The creamy, white gourds (are they really just mini pumpkins?), white beans and candles contrast perfectly against the dark wood of the mirror and our little feathered friend.  I also scored some free succulents at that same greenhouse and teamed them up with a simple, white pot.


<Insert attempt at dynamic photography here>


Nailed it.

Now, let me get back to that crow for a minute.


He seems harmless enough, right?  Well, he has a bigger, badder brother.

<Insert dramatic high-contrast photo editing here>


In an attempt to Halloween-ify the front porch, I stuck his big brother in my oh-so-sad boxwood next to my front door.  I had intentions of getting some sparkly bats or spiders added to the wreath on the front door, but, somehow I got sidetracked (shiny things!) and my outdoor decorating stopped after I put the crow in the boxwood.  


I had completely forgotten about it and was doing the dishes in the kitchen when I noticed the mailman come to a dead stop before he got to my porch.  His entire body was motionless, except for his legs.  He crept up to the mailbox (also next to the front door), and extended his arm just enough to quietly and carefully slip the mail into the box.  He stepped gently off of the step with his eyes fixed on something and backed slowly away.  The entire time, I'm standing there, water running and dish-in-hand, confused.

And then it hit me.


You guys, he thought it was real.  He thought it was a real crow.  It must have been the absence of anything else even remotely resembling Halloween decorations.  Just this lone, menacing bird staring him down.

Since then, he has scared 100% of the visitors on my porch.  Including my husband and children.

He's a keeper.

Friday, October 4, 2013

FINISHED Guest Bathroom - Before And After

This one's been a long time comin'.  Last year, at about this same time, we were knee-deep in framing and construction.  In fact, the upstairs looked exactly like this:


Looking at that photo, it feels like it was AGES ago.....  But it was just one year. I was in a pretty big hurry to get the guest bathroom finished since it was the 'easiest' bathroom for us to finish.  This bathroom will basically be the boys' bathroom and I worried about them running down the stairs at night in the dark for urgent bathroom business.  Plus, I was itching to not have to walk alllllllllll the way downstairs to the other side of the house - in the dark - in the middle of the night when I had to go to the bathroom.  (first world problems, I know)

We started by getting a solid base of 1/4" HardieBacker cement board laid out for the entire flooring surface and then began laying our 13x13 charcoal ceramic tiles.


This was way before 'Elephant Buffet' and I was mainly taking photos for my personal Facebook account, so there are disastrously few pictures of the steps we took along the way.  Unfortunately, most of the picture taking ended here.  

I already talked about my awesome clearance tile score and how I tiled the shower here.  Let's just move on to the pretty 'after' stuff:


I gotta tell ya, it feels pretty amazing to have a room complete.  After almost 14 months of renovations, we're finally in the home stretch!

Linking up to:

Inspecting The Uninspected (Part One)

Let's be honest here, unless you're - a.) in the process of a remodeling project b.) about to embark or just finished something ridiculous c.) a creepy stalker (hi! and welcome!), then this post is going to be completely uninteresting and much like my first Thanksgiving turkey.

Dry.


One of the many reasons posting has been eerily quiet around here is the incredible amount of hustle it takes to get a house (new build or renovation) to pass it's myriad of inspections.  When we originally applied and were approved for our building permit, we basically agreed to have all new materials and structures be built to town code.  For our particular project, this lovely list includes having an inspection for each of the following:
  • Readiness to construct (pour) footings
  • Substantial completion of structural framing
  • Roughing in of HVAC systems
  • Substantial completion of HVAC systems
  • Readiness to inspect air barrier (prior to cover)
  • Substantial completion of insulation, vapour barriers and air barriers
  • Readiness for inspection and testing of underground plumbing system
  • Readiness for inspection and testing of the water distribution system
  • Readiness for inspection and testing of drainage systems and venting systems
  • Readiness for inspection and testing of plumbing fixtures and plumbing appliances
  • Readiness to construct the sewage systems
  • Substantial completion of the installation of the sewage system before the commencement of backfilling
  • Installation of components required to permit occupancy
  • Completion of construction
On top of these FOURTEEN inspection requirements, we also needed to file for a permit with the Electrical Safety Authority and that usually involves an inspection of the wiring prior to covering it with insulation and drywall, and then a final inspection to make sure everything works properly and the fixtures are to code.


Here's the thing.  THE thing.  Before each inspection, I get nervous.  Really nervous.  Especially if it was an element that I had a hand in.  I take the work that I've done on this house VERY seriously and I've tried my very best to do each job damn near perfect or as perfect as I could possibly get it.  With a lot of this renovation, I've head to learn as I go.  Sometimes that means watching YouTube videos about how to install tile (and some that show you how to NOT do it properly), sometimes it means learning by having a massive failure.  Either way, one thing's for sure, if I knew the proper way to do something, that's the way I did it.  So, when it came time to have that which I *just* learned and implemented be inspected by a professional?  Oh, hell naw.... I get straight-up stressed.


I basically have spent the last 14 months in a constant state of frazzled-ness.  It doesn't do good things to the soul.  Or to wrinkles.


The reason I want to bring all of this up is because we've managed to cross off every single one of those inspection bullets with the exception of one.  The last one.  The big kahuna.  The final inspection.

And finally, to that, I can say:


Except I am, kinda.


So, for the next few posts, I'm going to go over some of the finer points of the inspection process.  Things to keep in mind and some of the things that I encountered.  The most important thing to remember here if you are going through this process and don't happen to live in the town of Kingsville, every town is different and building codes vary wildly.  Please, please do your homework when you're tackling a renovation.  Call your local building department and ask them to forward specific documents regarding your project or check their website for information.  Trust me, it'll save you from failing your inspections and having to go through the whole process all over again.  And again, that stuff just ain't no good for the wrinkles.


Thursday, August 29, 2013

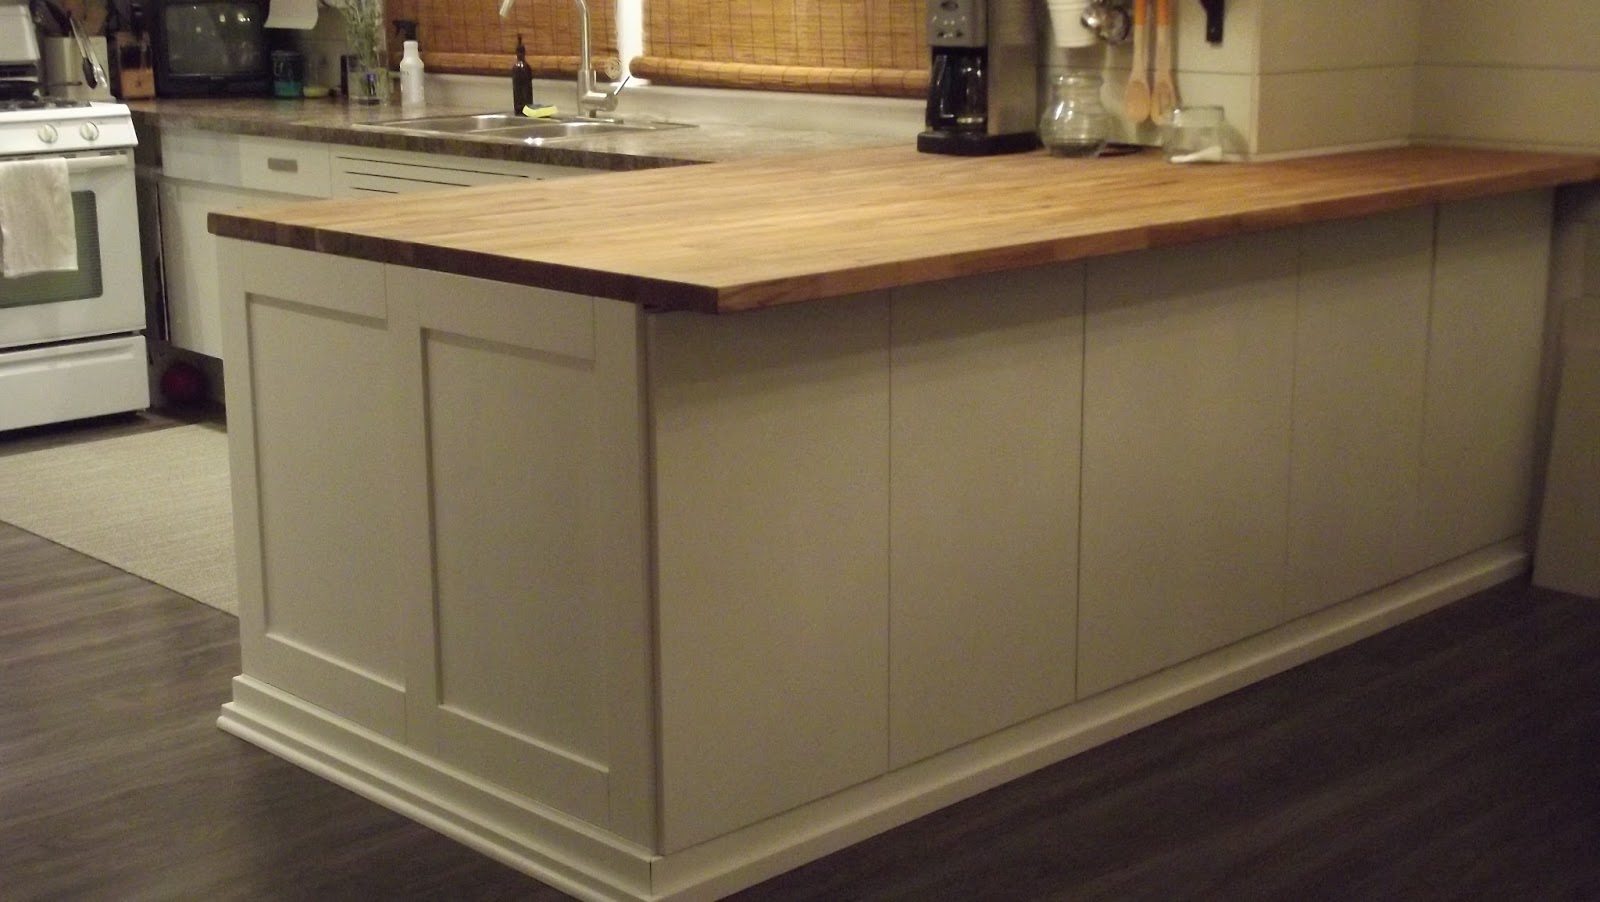
DIY Butcher Block Kitchen Island (Before and After)

I just spent 72 hours writing the LONGEST post ever about this kitchen island and I lost. every. single. word.  Every last one.

I think Jack's most recent school photo accurately sums up how I feel right now.


<deep breath>

So, let's take that as a sign to just skip to the before and after, yes?

Before:


Not cool, Blogger.  Not cool at all.

Monday, August 26, 2013

I Imagined That Going Differently

On Sunday morning, Jack opened his birthday presents from his family.  One of them was an alarm clock that was going to go in his new big-boy room.  I decided to wait and ask him if he would like to have a new bedroom before I just made that (big) decision for him.  He's been talking about it constantly, so I knew what he was going to say.

"Jack, I want to ask you something very important:  Would you like to have your own room?  We can move all of your things in this morning, if you like?"

Jack thought carefully for a moment.  Looked at his little brother and said, "No.  I don't think Sam's ready."

The night before, they stayed up until the wee hours with nightlights on and small chitterchatter filling the room.  Jack reading books to Sam and Sam returning the favor with cuddles and an annoying poke here and there.

Again and again, I'm reminded of this sweet quote:

(via)

And so I did.


Friday, August 16, 2013

A Bedroom For A Boy - Progress

When we last spoke, the bedroom in question was looking a LOT like this:


<sigh>

I've been watching episodes of 'Hoarders - Buried Alive' just to prove to myself that I didn't have a problem.  This room has had become the catch-all throughout the renovation process.  A life-size junk drawer, if you will.  Someone's coming over to visit?  No problem!  Open the door, literally throw something in, shut the door.

No more.....


That, my friends, is the result of six billion flights of stairs.  Almost every single thing in this upstairs bedroom belonged in the basement.  A basement that needed to be reorganized in order to accept the influx of *stuff* that I was about to introduce.  So, not only did I need to clean out the entire basement, I needed to clear out this room, as well.  You'd think I would have thinner thighs by now...

In order to get to this point, here's what had to happen:
  • Trim out the windows
  • Caulk all trim around said windows
  • Paint the jambs and trim
  • Two coats of Benjamin Moore 'Revere Pewter' mixed in Behr Premium Plus, eggshell finish
  • Install baseboards and craftsman-style door casings
And that's where I'm at.  I have seven days before this puppy needs to be birthday-boy ready.  Here's what's left:
  • Caulk and paint floor and door trim 
  • Hang artwork
  • Decide on room layout
  • Bring in furniture (desk, shelves, night table, lamps, etc)
The shelving that you see in the room right now is simple, cost-effective (read: super-cheap) shelving from Ikea.  Once assembled, it looks like this:

Once you spend an hour in the hot garage with a can of brain-cell diminishing dark walnut stain, it looks like this:


I have a couple options as far as placement of the shelves go--- and I really don't know which one I prefer.  I can go one on either side of the window, like so:


Or, I can gang them up between two windows and they would be the first thing you see when you walk up the stairs or past the door:


I think I kinda like them ganged together like this and I'm imagining white, soft, full curtains on either side of the windows to really lighten up this wall and create a welcoming effect.  However, once you bring in the bed where I wanted it, it doesn't leave much walking space:

The tape measure shows exactly how far the bed would extend.

The room has a funky, little bump-out that I was hoping to tuck the headboard into and extend into the room.


Now, excuse me while I dazzle you with my ARTISTIC rendering of Jack's bed in this space just to help you understand what I mean:


You're floored.  I know.  I gots mad Paint skillz.  Don't hate.

So that's where we are right now.  No decisions on room layout, but I'll get that figured out in the next couple days.  Any thoughts?  Recommendations?  Would you like me to offer tutorial classes on how to illustrate in MS Paint?

Monday, August 5, 2013

Snips and Snails and Puppy-Dog Tails (Designing An Awesome Boys' Room)

If you follow me on Pinterest, you'll notice that I've been pinning a lot of this:

(via)


and this:

(via)


oh, and then there's this:

(via)


and of course, let's not forget this:

(via)

You guys.  That last image.....  Wow.  I love it so much.  I don't know if it screams '7 year-old boy' though..... I might have to file it away for myself....

The thing that sticks out most for me in these inspiration photos is contrast.  Lots of soft blues and greys coupled with striking black and dark walnut.  And to lighten the space, bright, creamy white accents in the form of trim or draperies.

You see, I've got a little monkey who just so happens to be turning 7 this month.  When we originally designed the second floor, we added a guest room knowing that it would eventually be Jack's bedroom.  We figured the boys would duke it out in a shared bedroom until they were about 10 or so, and then want to spread their wings and go separate ways.

Not my kids.

They want FREEDOM!  INDIVIDUALITY!  THEIR OWN SPACE!  NOW, PLEASE!

I've decided to surprise Jack with his own room for his birthday.  Which just so happens to be in 20 days.  Now, I'm not expecting it to look exactly like those drool-worthy rooms up there in 20 days.  Especially considering that I'm currently working on finishing up the master ensuite, guest bathroom, kitchen and enough trim work to make me just want to just. give. up. right. now.

On top of all of that, the current space I'm working with looks like this:


Ugh.  That hurts.  Hurts bad.

Throughout the last year, whenever we've had to store something away for later or move items because we were working in a room, this is where it went.  And now it's back to haunt me.

BUT!  I've got a plan and I'm sticking to it.  Kind of.  Here's the master to-do for this space:
  • Clear out the room
  • Finish trimming out the windows and doors
  • Make a decision regarding whether to go basic wall trim or do a snazzy treatment
  • Paint
  • Window coverings/blinds/curtains
  • Install lighting


It will seriously be a miracle if I can get this done.  Little bites, Carol....little bites...

What about you?  Ever try to eat an elephant of this size in such a short time?  Got any inspiration photos?  Words of wisdom?