John wants me to call this blog, 'The House That Clearance Built'. Not sure why...... could have something to do with this:
Or this:
Or possibly this:
But today, it has to do with this:
Yes. Those are 8x16" textured tiles marked down from $4.12 to $1.00.
One dollar! I was home, struggling with our new paint sprayer (as it turns out, I am *not* the 'paint whisperer' like I thought I might be) and John brought the boys out on a routine trip to the hardware store. About 5 minutes later, I got a call from him saying something to the effect of "Get here. Now. You're gonna wanna see this."
Oh, and I DID want to see that.
We were ALL OVER the sparkly, white tiles and we did some math and figured out about how much tile would be needed to do the guest bathroom shower walls. There weren't enough tiles available in the clearance bin. <
sad song here> Interestingly enough, there were some charcoal-ish grey tiles that were marked down and so we played around with a few patterns right there in the store and decided to go for it.
I've never tiled a shower wall before so to say I was a teeny, tiny bit intimidated would be an understatement. I gathered all of my supplies, took a deep breath, and just dove right in.
 |
I lined the bathtub with some leftover cardboard.
Hey look! There's a level! |
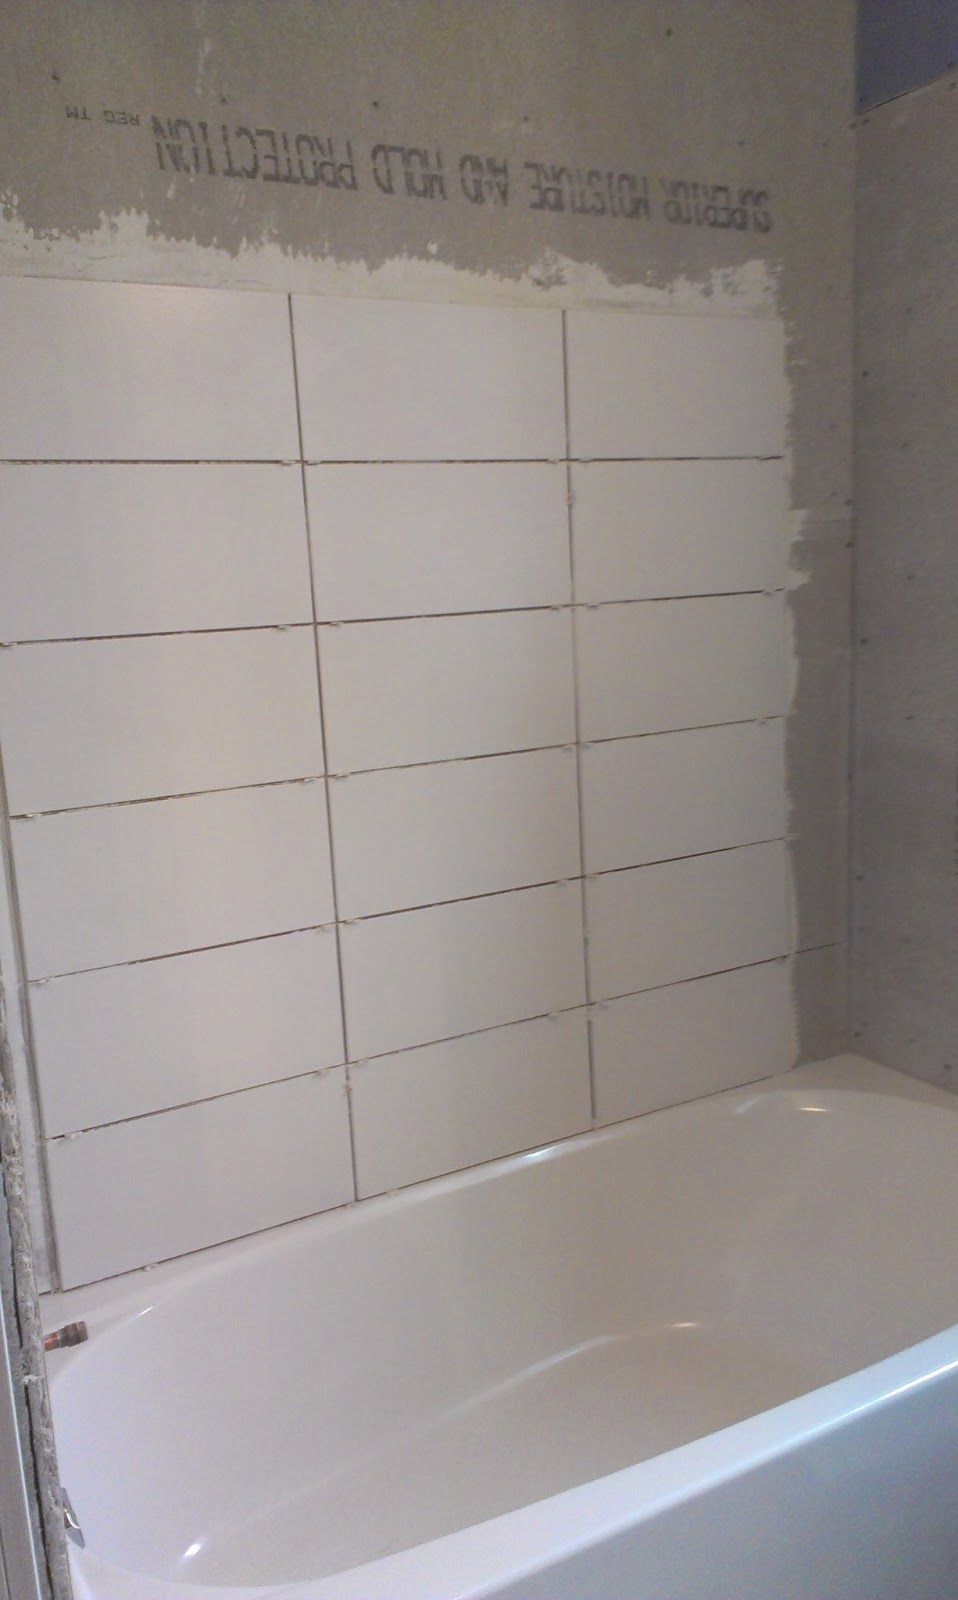
I start to get hives when things fall out of symmetry, so I marked my center line so I would know where to begin. With white mortar, I mixed up a small batch to get started and spread a good layer of mortar onto the cement board with a notched trowel. And proceeded to drop GIANT globs of thinset onto the cardboard-lined bathtub.
After a little while, I had this:
Talk about satisfaction. I had been staring at that unfinished wall for a while and it felt
so good to see it starting to take shape. I let that first round of tiling set up for a while before I started on a grey band and the side walls. Also, I ran out of white mortar and continued with grey mortar. I figured that if I kept my joints somewhat clear, I wouldn't have too much of an issue with it coming through my white grout.
The corners required a quick snip on the tile cutter and for. the. love. of. pete. I kept chipping the edges of all of my cuts. No matter what technique/method/wishful thinking I tried, the edges were chipping. And I was quickly using up all of my 'just in case' tiles. I ended up just taking the ones that were the least hacked up and using them - with the hopes that grout might help to cover up my sins.
Speaking of sins.
Remember how I said that I didn't think using the grey mortar would be that big of a deal?
It was a big deal.
I am neither neat, nor careful when it comes to mortar. When I came back the next day, I had grey mortar crustily oozing out
errwhere. It was not in the least bit attractive. And neither was the sight of me frantically trying to scrape out the surprisingly (?) cement-like bulges from all of my seams. It was brutal. And this was the best I could muster:
I was really and truly hoping that the grout gods would be forgiving and help me out with concealing this travesty forever and ever. Amen.
They totally delivered.
 |
| This is just after applying the grout, hence the haze. |
I have to say, I thought grouting would be way more fun. It was stressful to me. I was really concerned about the coverage and I suppose standing on the sides of the tub and reaching up as high as I could - overhead - didn't make it any more pleasurable. I found that my hands were shaking and achy at the beginning, so I got some awesome (and handsome) assistance.
John jumped in and started grouting
like a boss and I was able to follow from behind and make it pretty and uniform. In the end, I'm pretty pleased with the result.
The finishing touch for this particular job was to add a bead of silicone to the perimeter of the tub where it meets the tile. I had read that a good tip is to fill your bathtub prior to applying the silicone so that if there's any flex when the tub is full, you'll reduce any cracking or displacement of the silicone.
 |
| I placed a piece of scrap tile behind the running water to prevent any splashin' onto my pre-siliconed area. |
A little bit of painter's tape and a nice, thick bead of silicone.
Remove the tape while the silicone is still wet and while the tub is still full and let that puppy sit for a while.
Once things are nice and set, drain the water and marvel at the awesomeness of it all. I followed up a week later with some sealer and BOOM.
This is as clean as this bathtub will ever be. Ever.